Frost On The Inside Of The Windshield
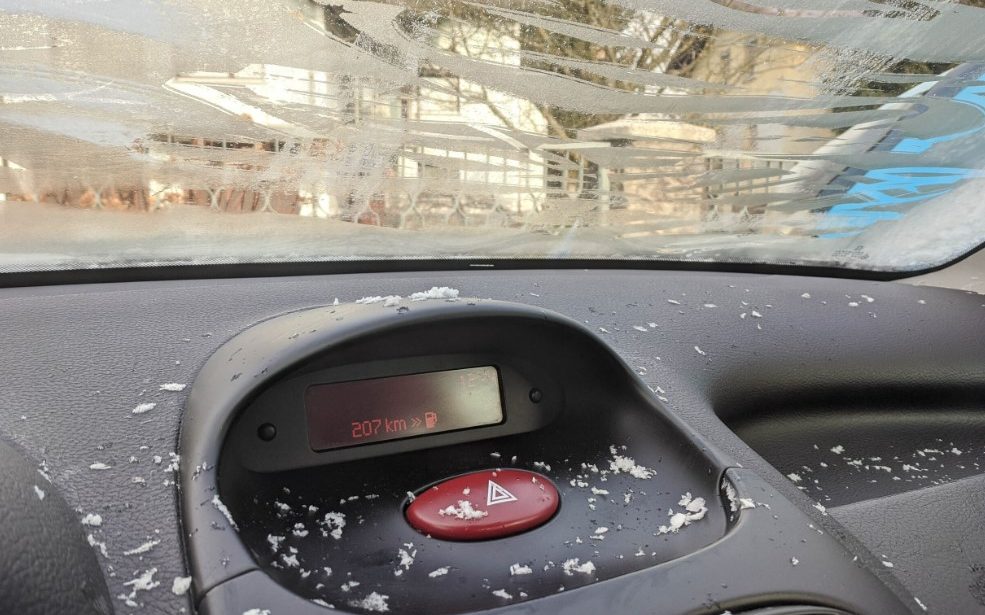
Many motorists must scrape the frost and ice off their vehicle’s windshield during winter. Nevertheless, for some unlucky individuals, that is not the end of the story; they also have to deal with a frozen windshield on the inside! Removing the frost covering from both sides of the glass is a nuisance, especially on mornings when the temperature is below freezing.
Winter driving conditions may be hazardous, mainly if frost accumulates within your vehicle’s glass over time. TTo prevent frost formation and maintain a dry environment, drivers should use a dehumidifier and other materials capable of absorbing more moisture from the air, such as silica gel and charcoal briquettes. Opening windows to provide sufficient ventilation can also help avoid moisture accumulation when living in a more relaxed area. By following these precautions, motorists will have better vision and will be able to enjoy driving in the winter with a reduced chance of injury.
We will investigate the factors that lead to the freezing of the windshield inside the vehicle and discuss ways drivers may prevent it.
The formation of frost on the inside of a windshield is a mystery.
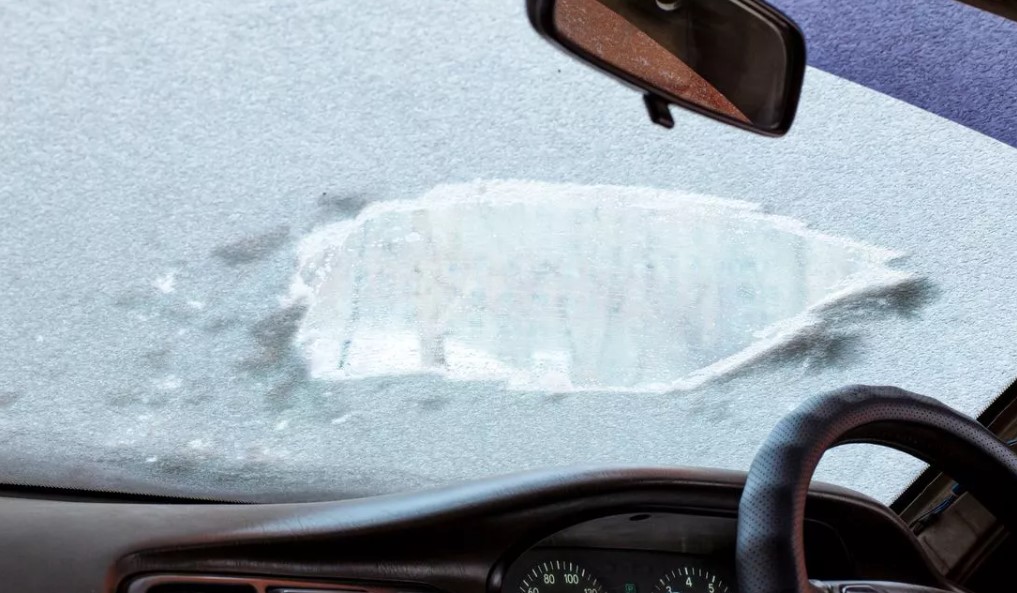
Frost that forms on the inside of a windshield is a common problem that drivers face throughout the winter months. It could be a source of annoyance because it may restrict the driver’s field of vision and make driving more hazardous. If drivers know the factors that contribute to frost formation inside a windshield, they may take the necessary steps to avoid frost formation.
Temperature and moisture are the two primary factors contributing to frost accumulation inside a windshield. If the vehicle drops to a certain level, any present moisture condenses on surfaces such as glass. Eventually, this liquid will freeze, which will result in frost falling.
Various factors may contribute to the production of moisture inside a vehicle. If wet shoes or clothing are left in the car, there is a possibility that moisture may be released into the wind. If a window is left open or the seals or windows of the vehicle are damaged, rain or snow may enter the car. The mere act of turning up the temperature of the vehicle’s heater immediately before parking might result in the release of moisture into the atmosphere.
Other factors contributing to frost formation on a windshield include inadequate ventilation and a lack of airflow. The moisture in the air can build up and eventually freeze if the car is damp due to a leak or another issue. It is essential to remember this if the vehicle is parked in a location that does not allow sufficient ventilation.
It is essential to remember that frost may collect inside a windshield at any time of the year, even if it happens more often in winter. The issue may manifest itself as condensation in warmer areas rather than frost. However, the fundamental elements, which are temperature and moisture, continue to be the same.
Drivers need to take measures to remove any moisture that may be present inside the vehicle to prevent the formation of frost on the interior of the windshield. It is possible to do this by removing any damp materials from the car, using a dehumidifier, and repairing any leaks or damage that may have occurred to the car’s seals or windows. A sufficient amount of ventilation is essential since it has the potential to enhance airflow and decrease wetness. A windshield cover, which prevents frost from accumulating on the outside of the windscreen, and using the heater or air conditioner in the car may also be beneficial.
Ways to Prevent the Interior of a Windscreen from Freezing during the Winter
Condensation is the primary factor that leads to windscreens freezing from the temperature inside. When warm air enters your vehicle, it has the potential to cool down and condense, resulting in the formation of water droplets on the windshield. During the night, as temperatures drop, these drips will freeze, resulting in a frosty layer that needs to be cleaned in the morning.
The good news is that you may prevent this by taking several measures, including the following:
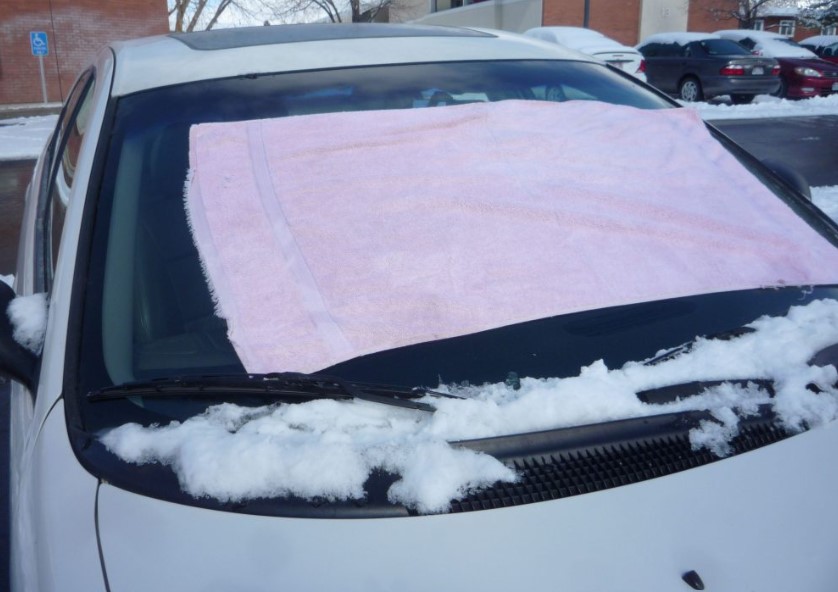
1. Cover your windshield with a sunshade (optional).
With a sun cover, you can reduce the risk of condensation forming on your windshield by ensuring that the temperature inside your vehicle remains consistent.
2. Keep the Windows Shut Throughout the Night
Condensation may build in your house if you close your windows and allow cold air to enter. If you want to use your vehicle the following day, you must ensure the windows are partially open before starting the engine.
3. Turn on the frost defroster.
The defroster prevents ice from forming on both sides of the windshield by blasting hot air over it. This helps to warm the windshield and prevent more ice from forming.
4. Work with an ice scraper.
Because frost and ice are difficult to remove after they have formed, it is essential to make it a habit to use an ice scraper every night before going to bed. This will ensure that there is no formation of ice or frost throughout the night.
Ways to Prevent the Interior of a Windscreen from Freezing during the Winter
Condensation that occurs inside the glass is the primary cause of the freezing that occurs inside the windscreens. A few simple remedies, such as the ones listed below, may be able to cure this:
1. Remove any moisture that may be present within the vehicle.
Reducing the amount of moisture inside your vehicle is the best way to prevent frost from accumulating on the windshield. Dehumidifier pads, made of silica gel and may be attached to the rearview mirror or installed on the dashboard, are an excellent approach for accomplishing this goal. You may use these simple strategies to keep yourself warm and comfortable driving during cold winter.
You may effectively absorb any moisture that may be present in your car by placing some salt, rice, or kitty litter in a container and then placing the container inside your vehicle. It is necessary to change these materials regularly since they are known for dissipating humidity from the air.
2. Patch up any leaks or damaged seals that you find.
If you want to avoid having ice forming on your vehicle’s windows, you should ensure that the inside of your car is moisture-free. Therefore, you must regularly inspect the region around the windows and doors for cracks or defective seals. You must repair it as soon as possible to avoid the water from the vehicle and give you a cold winter surprise!
3. Allow the window to be slightly ajar.
It is possible to properly circulate fresh air inside your vehicle while preventing the formation of moisture if you open the windows using a gentle opening motion—this tactic is initially if the vehicle is left parked in the vicarage or another covering place. Also, take extra precautions to ensure that it is kept open for a reasonable amount of time since this might put the vehicle at risk of being stolen or damaged.
4. Use shaving foam
To prevent frost from building on your windshield, apply a thin layer of shaving foam to the surrounding area. First, spray some shaving foam onto your car’s glass, then use it with a towel, and last, wipe away any extra shaving foam to leave behind an excellent coating that prevents ice from accumulating! In addition to containing detergents, shaving foam also acts as a barrier that prevents glass and moisture from coming into contact with the air.
During the winter, it is necessary to take several measures to keep a windshield from getting frosty. These preparations include drying out the inside of the car, repairing any damage or leaks, leaving one window slightly ajar, and using shaving foam. Drivers may ensure that their windscreens are clean and safe to use in cold temperatures by following these procedures before driving.
How Are Seals Repaired?
Seals are critical to correctly seal the doors, windows, and other car components. Seals are vital to prevent signature, air, and other elements from entering the vehicle. Over ime, these seals may get down or damaged, resulting in leaks that can cause water damage, an increase in noise, and a significant decrease in energy efficiency. Repairing seals is a straightforward technique that requires just a few essential equipment and materials.
1. Identioblems
Finding the source of the problem is the first step in repairing a seal. Check the seal for wear or damage, such as tears, punctures, gaps, or fractures. These are all signs of wear and tear. Listen for any strange noises that may be coming from the vehicle, and check the seal for any signs of air or moisture leaking out. After the problem has been identified, the most appropriate course of action for repair may be determined.
2. Maintain Order in the Area
To properly repair the seal, it is essential to first clean the area around it. Using a clean cloth and a solution of mild soap, you may remove any dirt, grime, or debris that could be present in the area. Doing so will ensure that the sealant appropriately adheres to the surface.
3. Use a sealant
Using a sealant that is based on silicone, apply it to the damaged region to repair the seal. In addition to being durable and flexible, silicone sealant can withstand changes in temperature and moisture. Almost all hardware stores carry it, and it is available in various colors corresponding to the seal. The damaged seal zone should have a thin, homogeneous sealant coating applied using a caulking gun. Take care not to apply too much sealant, however.
4. Gently rub the sealant
When you have finished applying the sealant, you should use an instrument with a smooth edge, such as a spoon or a putty knife, to evenly distribute it throughout the surface of the seal. Additionally, this will prevent any excess sealant from leaking and make it more straightforward to apply the sealant.
5. Allow the sealant to dry.
After applying the sealant and smoothing it over the damaged area, you should wait for it to cure completely. Additional directions may be found in the manufacturer’s instructions, which are specific to the kind and brand of sealant used.
5. Take a look at the seal.
Once the sealant has had time to dry, it is necessary to test the seal to confirm that it has been adequately repaired. It is required to shut the door or window and rub your hand over the edge of the seal to check for any gaps or leaks. It is necessary to apply a second layer of sealant and repeat all the actions before it to guarantee that the seal has completely healed.
Fixing Cracks in the Window Film
Window cracks are an irritating problem for car owners because, if they are not addressed within a reasonable amount of time, they can make driving risky and potentially result in more damage. In a fortunate turn of events, repairing window cracks is a straightforward task that requires just a few essential equipment and materials. Check the extent of the damage first.
To repair a broken glass, you must first determine the extent of the damage. It is essential to investigate the kind of glass that has been broken, as well as the size and location of the break. If the crack is more than a few inches or is located in a critical area, such as the driver’s line of sight, it may be necessary to replace the whole window. It may be relatively easy to mend the fracture if it is not very severe and is located in a less significant area.
1. Keeping the Surface Clean
Before beginning to repair the fracture, it is essential to clean the area around it thoroughly. Using a clean cloth and a solution of mild soap, you may remove any dirt, grime, or debris that could be present in the area. Performing this action will ensure that the glue optimally adheres to the surface.
2. Put on some glue.
Use a windshield repair kit for the affected region to repair the crack. Windscreen repair kits are available at the majority of auto parts stores. These kits often include a specialized adhesive that may fill up cracks and prevent them from spreading further. When putting the glue to the crack, do not apply it too heavily.
3. For resin, make use of an injector.
When you have finished applying the glue, you should use a resin injector to inject it into the crack. A resin injector is a specialized equipment meant to pack the glue into the crack as deeply as possible and guarantee that it fills the area. If you want specific instructions on using the resin injector, you should read the instructions provided by the manufacturer.
4. Allow the glue to harden.
After injecting the adhesive into the crack, you should wait until it completely dries. For more instructions, please refer to the manufacturer’s instructions for the kind and brand of glue used.
5. Ensure that the Surface is Smooth
After the glue has had time to harden, use a razor blade or similar sharp tool to carefully remove any more adhesive that may be present on the surface of the glass. Additionally, this will prevent any excess glue from obscuring the driver’s field of view and give an even smooth surface.
Investigate the Solution
Once the glue has completed its curing process and the surface has been polished, the repair should be tested to ensure it has been completed correctly. Examine the surface for any cracks or places that still need to be filled in by the adhesive. To completely mend the fracture, you must repeat the treatment as often as necessary.
Final Thoughts
It is very uncommon for drivers to have the problem of frost on their windscreens, particularly during the winter months—frost forms due to the interplay between temperature and moisture in the environment. If the vehicle drops to a certain level, moisture condenses on the surface, much like glass. As time passes, this moisture will freeze, resulting in the formation of frost.
To prevent frost from forming on the inside of a windshield, reducing the amount of moisture within the vehicle is essential. Removing wet products, repairing leaks or damage to the seals or windows of the automobile, using a dehumidifier or materials that absorb moisture, and using the proper ventilation of the vehicle are all examples of what may fall under this category. Another benefit is a windshield cover and turning on the car’s heating or air conditioning system.
It is essential to remember that preventing frost from forming on glass is vital to maintaining clear vision and driving safely. When drivers take the necessary steps to prevent frost from accumulating inside a windshield, they may guarantee they can drive safely and without obstructions, regardless of the weather.