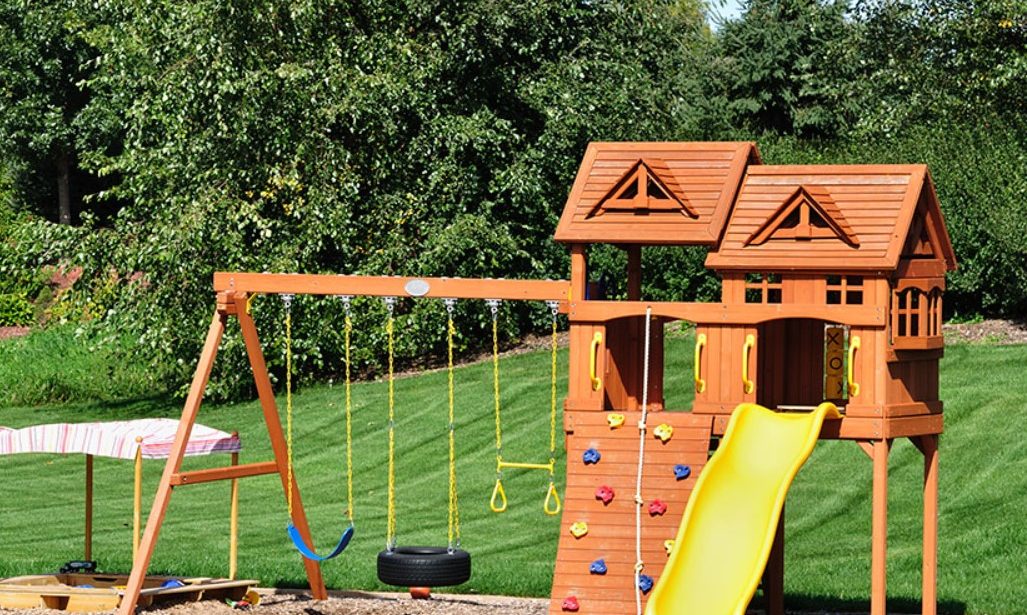
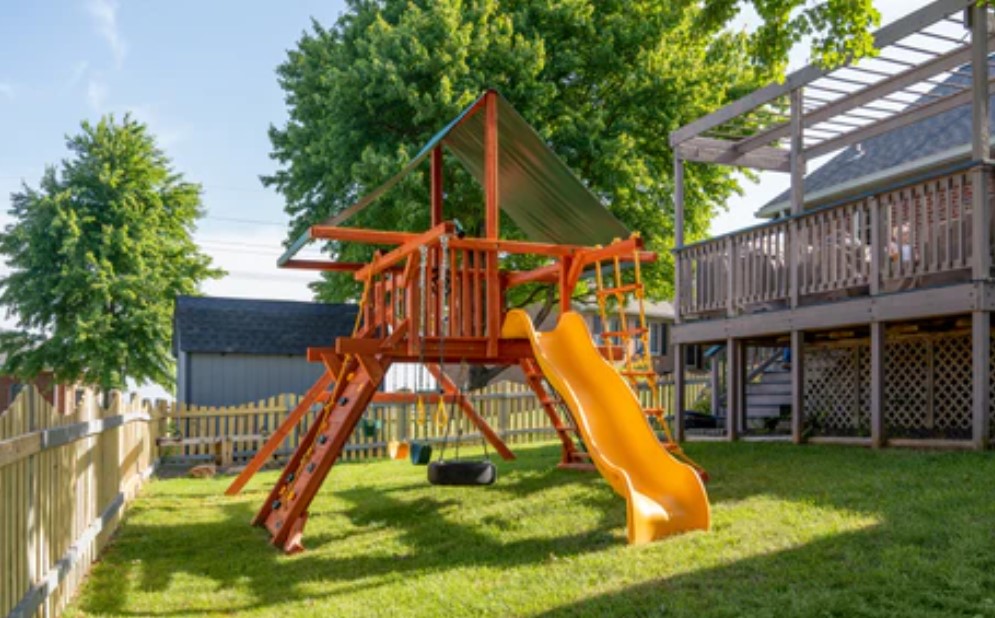
How To Level: Backyard Playset
You will like to level the yard independently, even if you have installers come to create your playground. This is because most lawns will need some leveling to be ready for the installation of a playset.
Are you still curious about how to level a playground in the backyard? The most typical method for dropping your playground is to use a shovel and rake to disperse the dirt under the playset. This will allow you to drop the ground beneath the playset. To make a space level, you may need to construct a small retaining wall or use cement blocks to cover a playground in some circumstances.
For the same reason that every yard is unique, the leveling requirements you have in your backyard will differ from those of another individual. If you want to put that playground in your backyard, you should continue reading to learn how to level the ground.
Do You Need to Make Sure That the Playset Is Level?
Indeed. The children playing on the playground need to be able to play on it safely, and the playset itself has to be level to avoid any damage.
Security
When children are playing on a playground that is not level, the playset has the potential to topple over. The playset might be blown over by a powerful storm or lifted by the movement of the swings or other intense play, although this depends on the playset itself.
Playsets that tip over may provide a significant risk of severe harm to children who are playing on or near them.
The harm
A flat surface is required for playsets to be able to sit on. The playground may be stressing joints, hardware, or the wood itself, which was meant to be handled only if constructed on level ground.
Consider the following: a playground that includes a clubhouse tower and a swing set. Some parts of the yard are a few inches higher than the center of the clubhouse and the A-frame, which are located on the lawn. This will cause the joint that links the swing beam to the club to experience excessive stress. Furthermore, it is going to lead to swings that are not even.
A playset that is not level is susceptible to damage in a single direction, as is the case in this scenario.
A guarantee
Installing the playset on the ground that is not level may result in the warranty being voided in certain circumstances. This is due to the increased likelihood of damage occurring. By requiring that the playground be placed on level ground, the manufacturers can protect themselves against the possibility of having to repair damage to a playset that might have been avoided.
Alternatives for Playset Leveling
The majority of backyards need to be level. Drainage problems might arise even in a completely flat garden. An appropriately graded yard will have a little slope in every direction away from your house. It is possible for heavy precipitation to flow away from your home rather than into it as a result of this.
However, if you want to install a playground in your backyard, the graded yard may be a source of difficulty.
When leveling your playset, you have a variety of alternatives to choose from, and each one affords you a unique set of benefits, depending on the circumstances.
A redistribution of the soil
Redistributing the soil is the alternative that most people choose to employ. It is optional to use any pricey materials or specialized equipment for it. In situations when the terrain is generally level and only a few modifications are required, it is most effective to employ. Nevertheless, even marginal modifications need a considerable amount of time and work.
Putting in place support blocks
Except for the supports, the only components of the playset that need to be level are the supports. Adding some ground height, you may support posts using concrete blocks or supports. Moreover, certain firms manufacture playset leveling blocks, which may be of assistance in situations when the ground is slightly off-level.
Some people do not find this a desirable alternative since the blocks used to support playsets may become trip and fall hazards, it does not typically provide an attractive completed appearance, and it cannot adequately fix a yard that slopes significantly towards the side.
Construction of a modest retaining wall
You may trust a retaining wall to prevent them from eroding in yard areas requiring significant leveling. This is also the case in places where you dig into the yard.
Although this choice requires much more labor and supplies, it may be the only choice available for considerably unequal yards.
Employ a Qualified expert.
Consider hiring a professional landscaper if you are short on time, your backyard is steeply sloping, or you are experiencing drainage problems. Even if the project is completed quickly and effectively, it may be expensive.
Before You Begin the Process of Squaring the Ground
You are not the only one who has decided to level the ground under your playground by dispersing the dirt through your efforts. As a result of the fact that it often just requires your time and is a very straightforward procedure, this is the most popular approach to producing a high-quality final product.
First things first: before you start leveling the ground, you need to choose where you would want to put the playground in your yard. It is possible that you would like to select the area in your backyard that is the most level, but a few additional considerations might go into making that choice.
Security
Throughout the playground, your children will climb, leap, and run in all directions. Be sure there is sufficient room around your playground to ensure that children can play safely when choosing a place for your playset.
All around the playset, there should be at least six feet of unobstructed space, and the swings should be at least twice as tall as the swing beam at the front and the back of the playground. This is a recommendation. This indicates that a swing beam that is six feet in length would need a clean area of twelve feet in front of it and behind it.
If you are searching for a conventional playground, consider one around 27 feet by 27 feet square. Regarding a vast playground, the play space may be broad. There are a lot of playset manuals that will reveal the precise measurements required for the play area.
The utilities
If any of your utilities may need maintenance or upgrades, try to avoid placing the playground on top of them. Additionally, if you need to dig deep into the ground to level it, you must be cautious not to have any of your utilities damaged in the process.
Make sure to contact your utility suppliers well before beginning any digging to have them mark the locations of your lines.
It is visible
If you want to check on your children at any moment, the playground must be viewable from your house. A further consideration is whether or not you wish to position your playset in a location that is not visible from the street; nevertheless, this is a matter of personal taste.
Coverage of the Ground
However, there are better choices than grass for a playground’s base, even tho many families have constructed set on grass. Across the whole play area of the playground, the CPSC suggests laying down a ground covering that is nine inches thick, such as mulch or pea gravel.
It is important to note that the quantity of your yard that has to be dug up during this procedure will be affected by the ground covering you decide to utilize. The optional doesn’t need to be level, even if you install a ground covering; nonetheless, many people like to make it slightly level.
In addition, if you use a ground covering, consider constructing a border around the play area. This will help prevent the ground covering from occupying excessive space in your yard.
How to equal out uneven ground in a straightforward manner
It is possible that the most straightforward method of leveling the ground for your playset is to dig into the dirt and then redistribute it, but there are better methods than this. Doing things like digging up Sod, removing dirt, and raking it out will cause you to break a sweat, but putting in a tiny bit of effort now can help make your playset more secure.
To do this task, you will not want any specialized tools or equipment; instead, you will only need a few essential tools you will likely already have in your garage.
- Essential Components
- Shovel with spade
- The garden rake
- The stakes
- A mallet
- A string
- A measuring tape:
- A level
Supply Options Available
- Paint for the landscape
- Slender plank of wood
- Molding device
- The border spade
- To chop the Sod
- Tape for ductwork
- A hose
- The fabric of the landscape
- The use of garden staples or fabric pins for landscaping
Making the ground level is a straightforward operation. To determine whether or not the area is level, mark it with stakes and thread, then move the soil to make a level location, and last, check to see whether it is level. Further reading will provide you with a more in-depth examination of each stage of the process.
Guide to Utilizing a Level
If you need to learn how to use a level, leveling the ground where your playset is located will be tricky. The usage of a carpenter’s level is straightforward and precise, but if you have never used one before, you may be curious about the accurate operation of the device.
It is common for a level to consist of three little tubes, each containing a yellowish liquid and an air bubble. Two thin lines were used to identify the tubes. The level has three tubes: one horizontal, one vertical, and one at a 45-degree angle. When the level is held horizontally, there are three tubes.
If you place the level on a horizontal surface and determine that the air bubble is between the two lines, then the flat surface is considered level.
Holding the level in a vertical position and pushing it against a vertical surface will indicate whether or not the surface you are pressing it against is properly steep or plumb.
Procedure for Leveling the Ground in Step-by-Step Form
Put a Mark on the Ground
- If you want to know how big your playset is, you should consult the owner’s handbook that came with it.
- It is essential to determine the dimensions of the playset in the area where you want to place it. You may use stakes, pebbles, or landscape paint to demarcate its boundaries.
- The space that will accommodate the playground needs to resemble a giant rectangle. If you want to give yourself some wiggle space, make the area you chose to level somewhat more significant than the playset.
- Using a mallet, drive wooden pegs into the ground at each of the four corners of the rectangle.
- It would be best to secure the string to the stake in the most elevated portion of the yard.
- To connect the string to another stake, you must wrap it around it many times. To be taut, it should be.
- Utilize a line level or a carpenter’s level to check that the string is in a level position.
- Using duct tape or tying the string to the last spike is possible to secure it. Connect the string to all of the other stakes.
- Additionally, if you utilize ground covering below the playground, you should stake out the play area similarly.
Have the Sod removed.
The word “sod” is used to refer to your grass in addition to the layer of earth that lies underneath it and is kept in place between the roots of the grass.
- Sod that is too wet or dry is more difficult to remove than Sod that is moist. To simplify your work, think about soaking the area with a hose a day or two before you start digging.
- For maximum productivity, you may establish a grid of one square-foot sections by cutting lines into the Sod with a shovel or a border spade.
- This will allow you to build a grid.
- Raise the layer of Sod by using the shovel to pry it up. When digging, dig deep enough so the shovel can reach the plant’s roots. However, this might vary depending on the kind of grass that you have in your yard. Typically, it is around three inches. When you start digging, it will become apparent how far you need to search to find solutions.
- Heavy is the soil. When loading the pieces onto a wheelbarrow, do it with caution. The repurposing of large pieces is possible.
- Remove all of the Sod from the whole play area if you want to put down a ground covering, such as mulch.
- Another method for removing Sod is to make use of a sod cutter, which is a machine that employs sharp blades underneath the grass to peel the Sod away from the soil. It is possible to rent them at most equipment rental shops, and they will help this task go much more quickly.
Make adjustments to the soil.
- If you want to level the area, you should begin dispersing the dirt from the highest point of the area and work your way down to the lowest point.
- Excavate the ground up. You can move the dirt to the lower end of the area, load it up in your wheelbarrow, and either reuse it or throw it away.
- To make a basin for the ground cover you are going to place, you should dig deeper if you are going to lay the ground cover.
- Employing a garden rake, move the soil about by pushing and pulling it until it seems level.
If the ground is level, check it out.
After you have seen that everything is beginning to seem level, you will need to evaluate how level everything is and make any required modifications.
- Measure the distance separating the ground and the level string you are using. Along the whole length of the string, the distance should remain constant.
- If you have a long level, you may use it to level the area you are attempting to drop by placing it directly in the center of the soil of the surrounding region. It would be best to ensure the level is level with the ground.
- If your level is on the shorter side, you will need to positionlongboardard in the ground and then position your level on top of the board.
- Please verify that the area you are attempting to level is all right. You will likely take action many times until the ground is level.
- After ensuring that the ground is level, you may remove the stakes.
Establish a Barrier for Weeds
Use landscaping cloth below your playground if you do not want weeds to prevent them from returning to the neighborhood.
To cover the space, unroll the landscape fabric and overlap it by roughly three inches, where it joins together.
If the cloth does not want to remain in its current position, you may use pebbles to keep it in place while you work.
To keep the landscape fabric from shifting and gaps from opening, use garden staples to anchor it to the ground and prevent it from moving.
Use of the Support Block Technique
When you use the support block approach, you take advantage of the fact that not all ground under your playset has to be leveled. When it comes to the playset, the only places that need to be level with each other are where it contacts the ground.
To level the playground with minimum digging, it is possible to use supports below some aspects of the playset. Two types of support alternatives compatible with most playsets are the Level Dry Blocks and the TuffBlock. Additionally, they have the advantage of preventing the wood from falling to the ground, where it would be more susceptible to rotting.
Many families find that cement blocks are sufficient to sustain their playground. Although a raised cement block is not the safest choice around a playground since it is possible to get an injury if you fall into one, these blocks are often robust enough to prevent a playset from tumbling over.
If you use one of the support alternatives explicitly designed for playsets, you must adhere to the installation instructions provided by the individual.
To guarantee that the ground underneath the cement block is level, you must ensure that you are utilizing a cement block. Take away the Sod, and then use a level to determine its level. To provide the highest possible level of stability, the block must be set with the broadest side facing the ground.
The block approach is unsuitable for playsets that need fixing to the ground to function correctly.
Construction of a Retaining Wall
You may need to construct a retaining wall to dig deep into the earth. Creating short retaining walls is not very challenging, and having the earth dug out is particularly easy.
Interlocking retaining wall blocks have become more prevalent in building retaining walls because they simplify the procedure, are long-lasting, and have an attractive appearance.
These interlocking retaining wall stones are the subject of the procedure that I will describe in more detail later. There is also the possibility of constructing a retaining wall out of landscape timber; however, this method is more involved.
In constructing tall retaining walls, building retaining walls and retaining wall blocks are considered appropriate. If you need to make a tiny retaining wall, ensure it extends beyond the minimum open space requirement of six feet from a play area.
- A supply of
- Blocks for retaining walls that click. If you need a foundation made of pavers
- The fabric of the laensurettachment for Concrete
- A shovel
- The rake
- Paintball gun
- The circular saw
- If you use interlocking retaining wall blocks, the circular saw blade is used for masonry.
- A Hammer
- A chisel
- Safeguarding Eyewear
- Gloves For Work
Which. Number of Blocks Do I Require?
Arithmetic is required to determine the blocks needed to construct the retaining wall. There is a possibility that you should get out of the calculator.
First, measure the wall length you want to construct to determine the number of interlocking retaining wall blocks you need. To determine the number of blocks required for each row, divide the wall length by the block size you want to use.
The next step is to determine the number of rows that are required. You should measure the height of the completed wall. Subtract the wall from the block’s height to get the result. This number represents the total number of rows that you will have.
To arrive at the total number of blocks, the last step is multiplying the number of blocks in each row by the entire number of rows.
You should purchase around ten percent more materials than you need if one is broken while constructing the wall.
As an Illustration:
If you are going to construct a wall that is going to be 10 feet long (or 120 inches) and 12 inches high, and you are going to use blocks that are 12 inches long and 3 inches high, then your first row will need ten blocks since 120 inches divided by 12 equals ten.
To get the number of rows, divide 12 inches by 3 inches, giving you 4. The wall will need a total of four rows.
This indicates I will want four rows of ten blocks each for forty blocks. To obtain the result of adding 10%, multiply 40 by 1 to get 4. This indicates that you will want around four more blocks for “just in case” purposes, bringing the total number of blocks you will require to 44.
Instructions on How to Construct a Retaining Wall in Specific Steps
Put pegs and thread in the ground to indicate that this
- You should remove the Sod and level the land where the forty blocks wall will be erected. This may be done by taking soil from the higher places and pouring it into the lower regions. If you have not already done this, you should do this step.
- To correctly build the retaining wall with drainage, we still need both sides of the wall to be free of obstructions.
- It would be best if you dug a trench roughly six inches deep and level to do this. To compact the soil, stamp it down with your foot.
- The ditch should be filled with roughly three inches of paver foundation.
- It is necessary to remove the flange from the first row of blocks using a hammer and chisel to get them ready.
- Place the blocks that do not have flanges on top of the paver foundation and check to see that they are parallel. Your base row is located here.
- To complete the second row, you will need to stagger the blocks, which means you will need to use your circular saw and masonry blade to cut one block in half.
- Keep the flange against the rear while installing the second row of blocks.
- Once you have completed a few rows, you must shift your focus to the drainage. Next, put drainage gravel exactly behind the wall, and then lay landscafabric behind the blocks on the dirt side of the wall. Do this.
- Continue doing this until you reach the configuration’s last two rows of blocks.
- To maintain the stability of the top rows, concrete glue must be applied to the top of the row that has already been put on the last two rows of blocks.
- Cover the drainage stones in the last row with landscape fabric, and then fill in the gaps with soil or ground covering (where applicable).
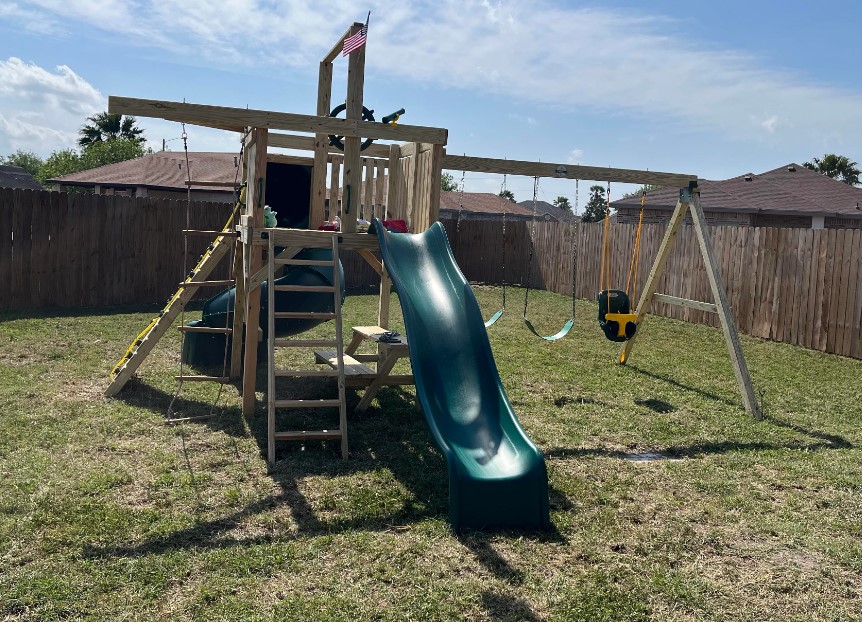
Let’s say the playset has already been constructed.
The method is more complex if you have a playground in your backyard and realize you need to level it. You may be able to acquire some assistance in lifting the playset and adding something like the Level Dry Block below it. Still, in the majority of situations, it will not be that straight for you to spend on how out of level the plane is and that you whether it is. Building a more complex, convenient site that takes more work is easy. Alternatively, you might prepare the ground at another stage for the new locate more workers so that you do not need to disassemble the whole item to transfer it. YDisassemblee will remove any attachments to the swing beam and the slide.
As for the other playset, pieces must be disassembled into manageable pieces that you and anybody else can carry. You may be surprised at how simple it is.
Are you interested in a Steep Slope?
If you have a backyard, remove any attachments or scenarios you feel uncomfortable confronting, and you might still investigate several playground possibilities.
Retailer of Playsets
Some playset sellers provide designs designed to be placed on uneven terrain, or that can be quickly modified to accommodate a yard that slopes in a specific direction. An example of this would be Rainbow Play S. In that case, stems have produced swing set ladders and A-frames capable of being put on uneven terrain.
Playset Constructed to Order
All fits your backyard quite like a custom m-around, yet the price of a custom-designed playset is only sometimes that much more than the price of a standard playset. This is particularly true when you include the expense of a hardscape to level your yard into the playset.
Check that the yard is level.
One should consider this alternative, even though it is not suitable for many families, and only sometimes the fact that it meets many families’ budgets.
If you want to build up your yard and install a heavy-duty retaining wall, you may hire a professional to do everything for you for a hefty coin. Considering your lawn and even though necessary, the cost of youbecauseiciently runs up to $5, and many families’ budgets go much higher than that.
You may consider this a potential alternative if you search for investment methods in your property. The transformation of your sloping backyard into a more level environment makes it more enjoyable to use and more appealing and iConsiderur property over the long term.